Keratin treatments are popular for achieving smooth, shiny, frizz-free hair. This guide explains how to apply it properly at home, what to prepare, and common mistakes to avoid.
What is a keratin treatment and what is it for?
Keratin is a natural protein found in hair, but it decreases over time. Applying it as a treatment helps repair hair fibers and restore strength and softness.
Main benefits of keratin
- Reduces frizz
- Adds shine and softness
- Makes styling and straightening easier
- Strengthens hair structure
- Protects against humidity
Who can use keratin at home?
Anyone looking to improve the health and look of their hair can use keratin at home, as long as the product instructions are followed.
Hair types that benefit most
- Curly hair needing definition and frizz control
- Damaged hair from dyes, straighteners, or bleach
- Thin, fragile hair needing strength
- People seeking a smoother, sleeker finish
What do you need to apply keratin at home?
Recommended materials
- Sulfate-free shampoo
- Keratin Concentrated Treatment 250ml by Milano Cosmetics
- Hair dryer (hot and cold air)
- Flat iron (ceramic or titanium)
- Brush or comb
- Protective gloves
Step by step process to apply keratin
Preparation
Preparation steps
- Wash hair with clarifying shampoo
- Towel-dry and detangle
- Divide into sections
Application
How to apply
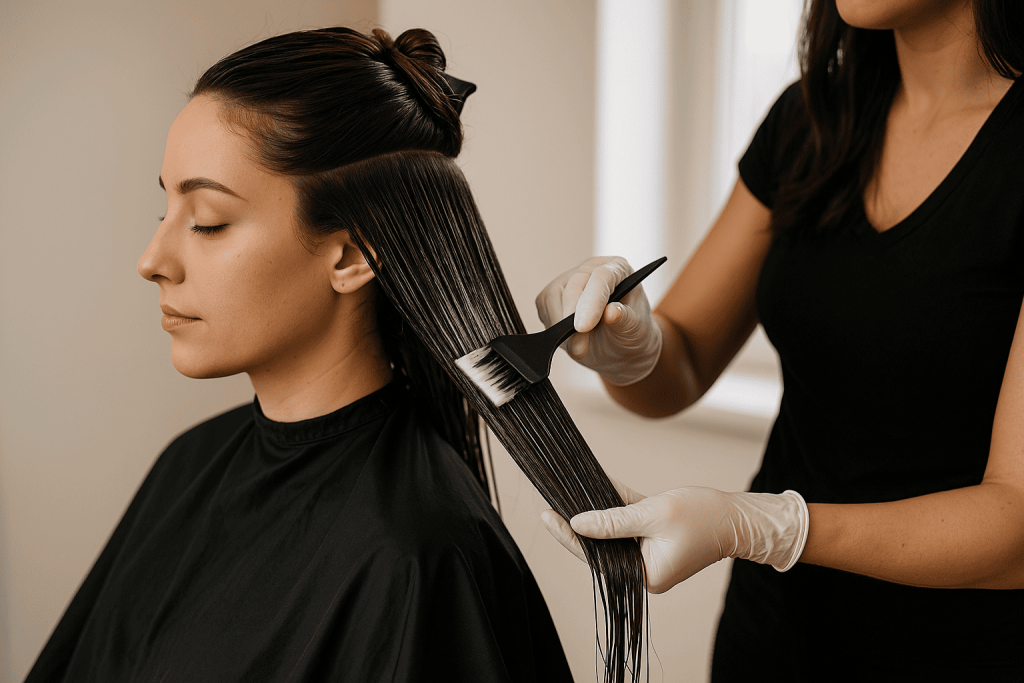
- Apply keratin strand by strand with a brush (avoid scalp)
- Spread evenly with a fine comb
- Leave on 20–40 minutes
Sealing keratin
Heat sealing
- Blow-dry hair completely
- Flat iron each section 5–7 times
- Avoid washing or tying hair for 48 hours

How long does keratin last?
Results usually last 2–4 months depending on care.
Tips to extend results
- Use sulfate-free shampoos
- Avoid frequent washes
- Limit heat styling
- Hydrate with nourishing masks
Common mistakes to avoid
- Skipping pre-wash before applying
- Using too much product
- Not sealing with flat iron correctly
Washing hair before 48 hours